DIY Valentine Garland
A sweet way to add some love to your home and an easy one
your kids can help with!
There is something sweet about celebrating a holiday like you’re a kid that makes it all that more special. Valentine’s Day was never important to me but we’ve created some fun family traditions together that make me look forward to it.
It might be all those years of making Valentine's boxes, but I think Valentine’s Day is the holiday with the most fun crafts. It’s also easy to get inspired; you don’t have a long list of gifts to think through and there’s not a huge meal to coordinate and cook. With all of that out of the way, it frees up some creative space.
I taught Pre-K for a couple of years and there is always a reason you’d need a coffee filter; crafts, snacks, coffee (for the teacher of course). The best things in life, really. I had them on hand one very cold day so I decided to get a project going for my girls.
Here’s what we did:
First, gather supplies! We already had everything on hand and I bet you do too. If not, it’s likely a quick grocery store run.
Supplies:
Paper coffee filters, round is best
Watercolors (with paintbrush)
Cup of water
Wax (freezer) paper, to work on
Scissors
Yarn, string, or twine
Tape or hole punch
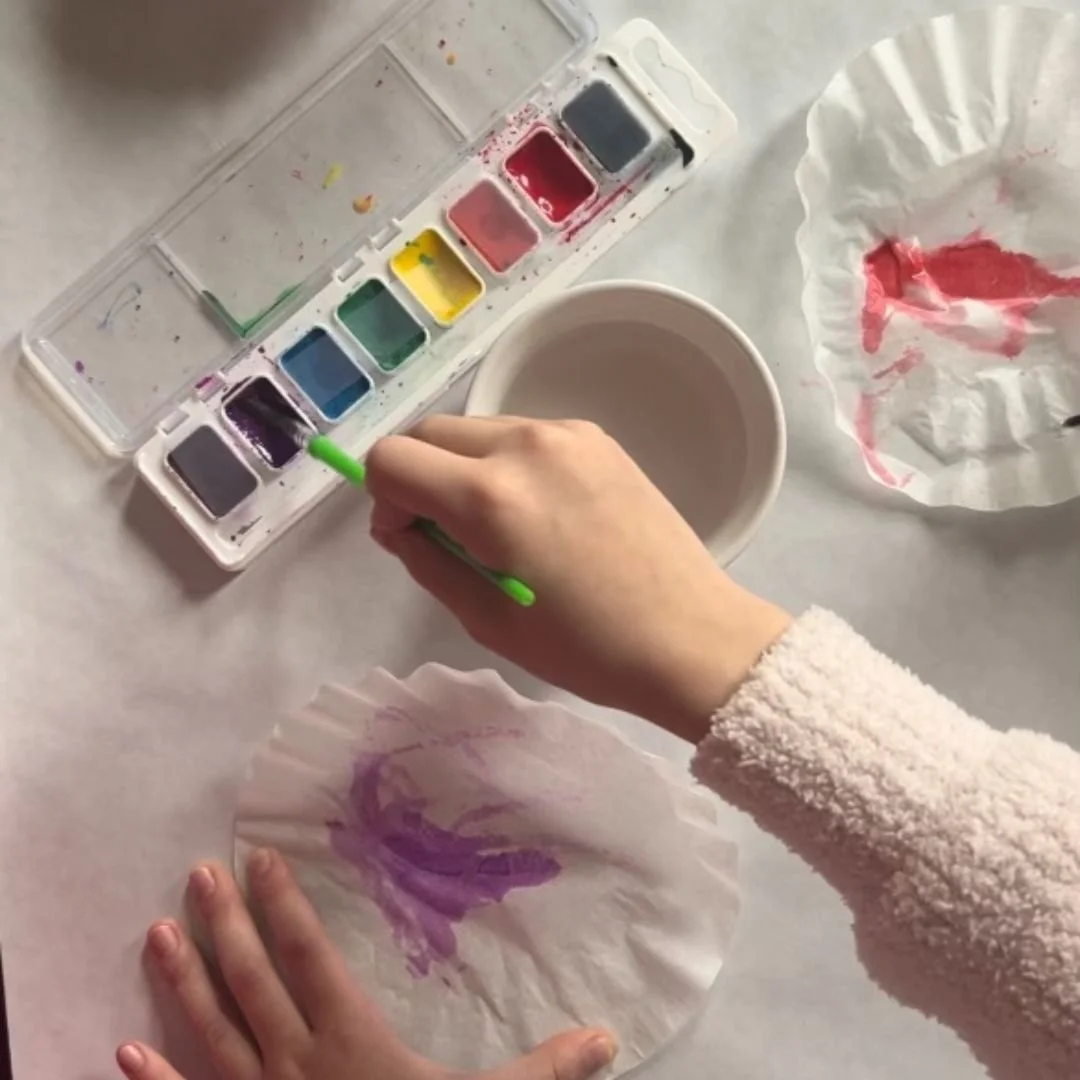
Next, set up 2 spots; you’ll need a working space (on the smaller side, see the first picture above of my girls working) and a drying space (on the larger side… they dry quickly but you’ll probably end up with more than you plan for :).
Then, get to painting!
TIP: I don’t like green or yellow in my Valentine decorations. Or brown for that matter… so, if you’re working with kids, put a piece of scotch tape over the colors you don’t want to use.
As you’re working, take your painted coffee filters over to your drying station. They dry rather quickly but if you’re in a hurry, you can use a blow dryer on the cool setting to speed things up.
After they’re dry, grab your scissors. Fold your painted coffee filter in half and cut out your heart. If cutting it this way makes you nervous, you can use the heart template below. This part of the project can absolutely be done before you paint, your choice! Also, feel free to make your hearts all different sizes. This really is the BEST project.
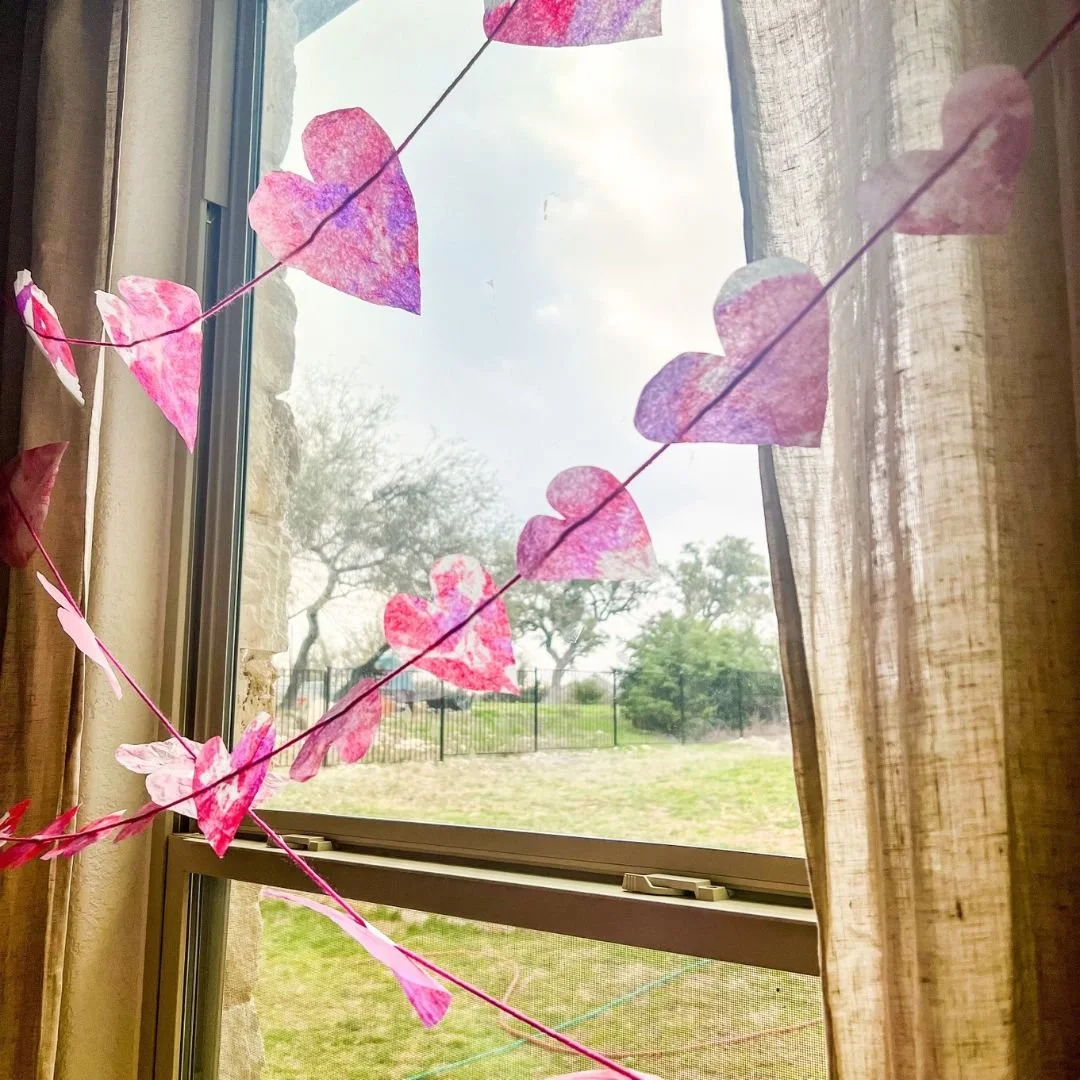
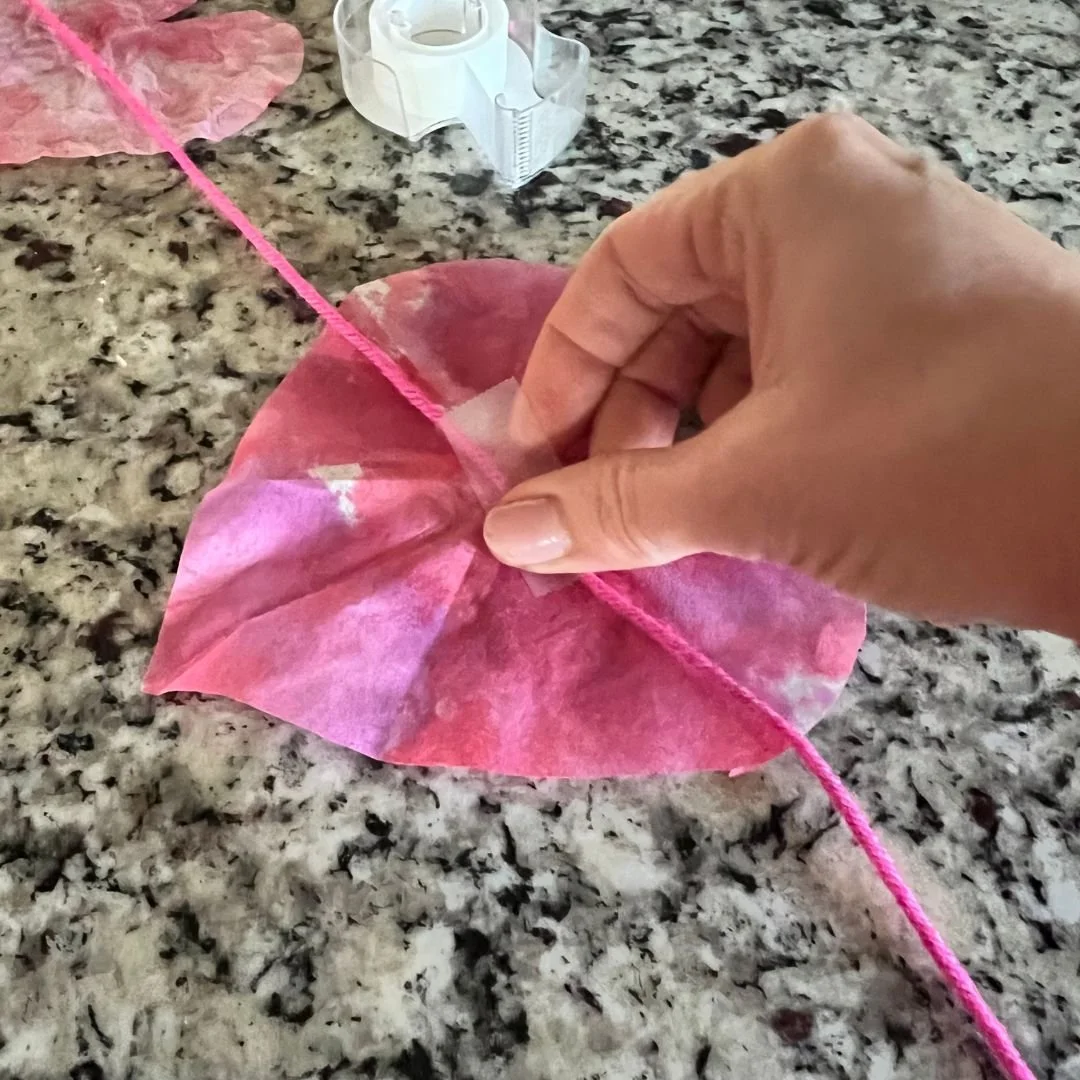
Okay! Now that you’ve got your Valentine-colored hearts, string them together. Take your string, twine, or yarn and lay it out straight on your counter or floor if there’s more room there. I used scotch tape (just above the middle of the heart) to secure my hearts to yarn but you can easily punch holes in them and string them that way.
These banners are so cute by themselves, make a few of them and layer them or use them to layer over another banner.
Aren’t they so sweet?! Where are you hanging your Valentine garland?


